Let's Get Start With Tailwind CSS
Simple and short article for beginners to start with Tailwind CSS

Hi there everyone I am a Full stack javascript Developer. Currently learning web development in Full Stack Javascript web Developer Bootcamp by Hitesh Choudhary sir at ineuron.ai portal. I have experience working with frontend technologies as well as backend technologies. You can check my portfolio and GitHub for projects that I have worked on.
What is Tailwind CSS?
Tailwind CSS is a CSS framework used to style web applications. It is important for styling robust web applications without having to write CSS from scratch or writing too many CSS codes. It saves time. The framework is class-based and utility-based.
 But Tailwind isn’t just the CSS. In addition to the framework itself, Tailwind includes a CLI and various configuration and theming options. These allow you to automate and scale your builds, thus making the most of Tailwind’s features without sacrificing performance and maintainability.
Why Tailwind CSS?
If you are a website developer and you have not heard of tailwindcss well you are in for a treat, tailwindcss is a framework of CSS that can be used to build modern and responsive websites super fast. its like magic

Honestly, it's so good I barely know how to write CSS any other way anymore. Normally when building a website with HTML and CSS you create your .html file and your .css file separately, this can be a lot of work going back and forth between HTML and CSS pages, writing long HTML code, and writing even longer CSS code it's like hell experience for coder and at a certain point, you will cry
 it can get boring and consume time, this is where tailwindcss comes in, with tailwindcss you do not need to write CSS code in a .css file you can write it along with your HTML code (sounds like inline CSS right? well it kind of is).
So Tailwind CSS is like superman who saves the entire coding community from writing too much code
isn't it a wow moment😎
it can get boring and consume time, this is where tailwindcss comes in, with tailwindcss you do not need to write CSS code in a .css file you can write it along with your HTML code (sounds like inline CSS right? well it kind of is).
So Tailwind CSS is like superman who saves the entire coding community from writing too much code
isn't it a wow moment😎

Getting started with Tailwind CSS
without any further delay and time pass, we will learn how to use tailwind CSS

1) Tailwind developer mode
Since Tailwind is designed to allow you to build pages without touching your CSS, this naturally makes the full Tailwind library a large file that you would never want to include in a real website build.
Use the Play CDN to try Tailwind right in the browser without any build steps. The Play CDN is designed for development purposes only and is not the best choice for production. only you have to do is include this script in your index.html file and you are ready to go🙌🙌
<script src="https://cdn.tailwindcss.com"></script>

Click on the HTML button to see the code
The above code includes a script referred to as the Tailwind Play CDN. This script is only to be used for learning and experimenting, never for a live site.
so I use the classes to decorate the name hello prajwal and yes it is working great.
I add the text-center property to center the name on the page.
There are thousands of classes present in Tailwind CSS.

For an in-depth understanding of classes you should visit the tailwindcss documentation link down below
2) Installing Tailwind’s full toolset

Yes, you have to install it via npm for production.
Otherwise, your browser will show the below warning

Installing Tailwind CSS as a PostCSS plugin is the most seamless way to integrate it with build tools like webpack, Rollup, Vite, and Parcel.
As mentioned, the examples I’ve shown you up to this point are not ideal. The CodePen, for instance, uses the Tailwind Play CDN, which means all of Tailwind’s classes are included on the page, even though I’m only using a few. We want to use Tailwind CSS in the production of our application, therefore we would install Tailwind with the help of Post CSS, Vite, and Autoprefixer.
1)Initializing Your Directory
The first and foremost thing you have to do is initialize your directory for the tailwind project. By running this command on your terminal
npm init -y
It will create a package.json file in your project
2)Installing Tailwind CSS - For Production
To install Tailwind for production, simply execute the below command in the Terminal
npm install -D tailwindcss postcss autoprefixer
3)Installing Vite
After executing the above command, Install Vite with the help of the below command.
npm install vite
In package.json, make sure to add a script section to run vite whenever npm start is executed.
just like this ⬇️ because vite will help us to run the server on the browser.

4)Initialising Tailwind
Finally, for the initialization of the Tailwind, you have to use the below command-
npx tailwindcss init
After the execution of the above command, a Tailwind.config.js file will be created. Make sure to add a “*” in the content section as we will be using the Tailwind in the complete content.
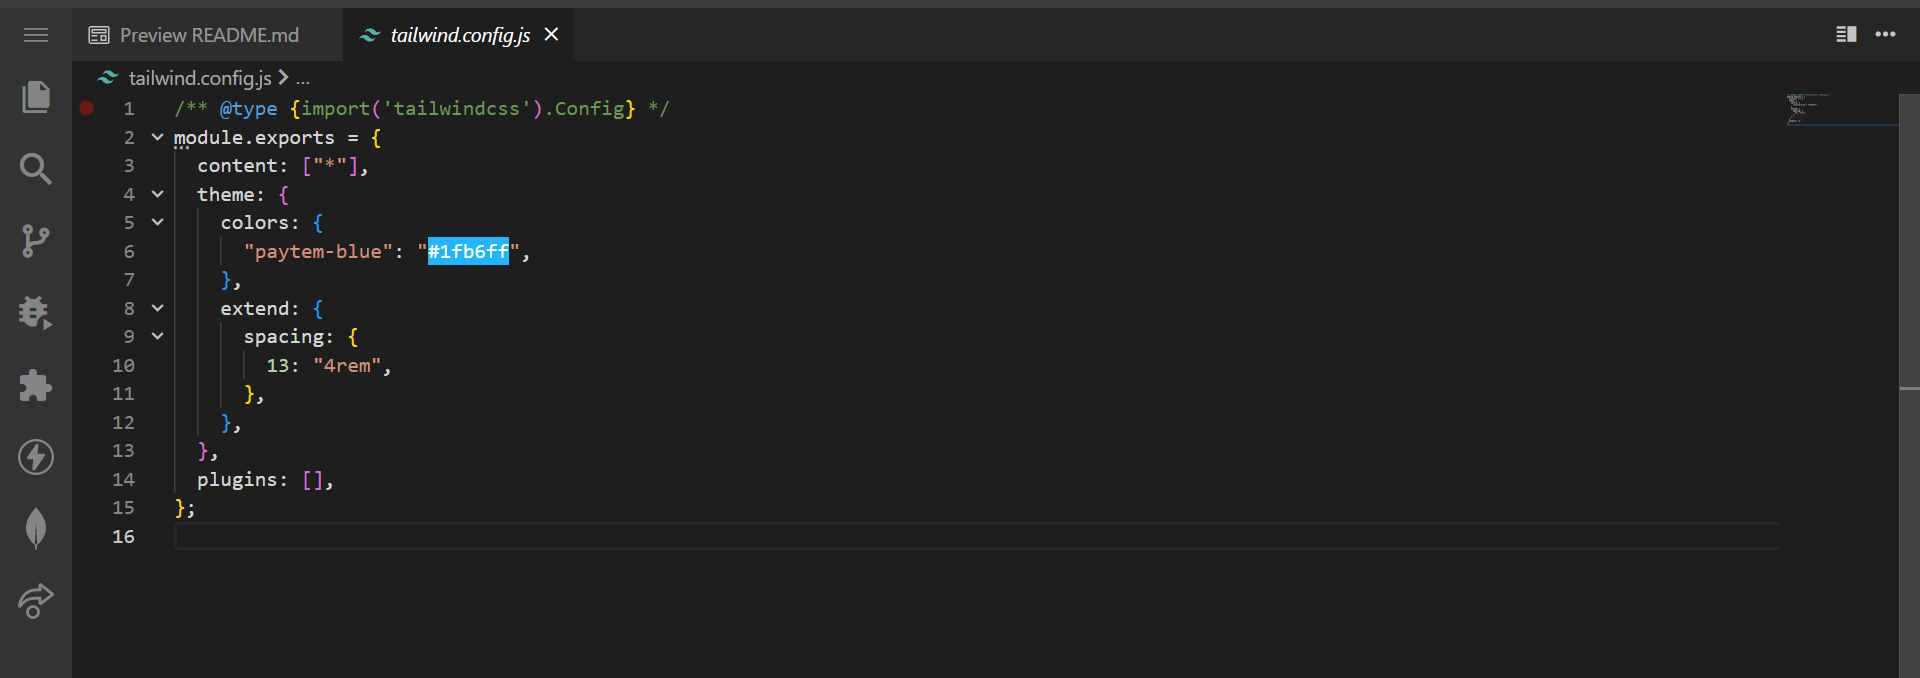
content: ["*"],
5)Input CSS File
Ohk not to worry just the last thing to do and you are ready to go with tailwind CSS.

Create input.css file and add below content in that file
@tailwind base;
@tailwind components;
@tailwind utilities;
Finally, it comes to an end

And yes you are ready to build your project in TailwindCSS 😎😎🙌

My Projects
I Have built some projects in pure tailwindcss you can take a look for more understanding of TailwindCSS and its classes. I am providing GitHub source code link to that projects. hope you will like that project if you love that project please give it a star on GitHub.😁
Conclusion
A quick recap of the article. We understand how to get started with Tailwind CSS using basic installation procedures or CDN links. I hope that this article is useful to you, to help understand the topic better. If you have any questions, you can leave them in the comments section below.
Happy Coding.
ByBy

Follow Me


