
Blog cum cheatsheet for writing readme.MD file (markdown file)
This article will give you an in-depth understanding of how to create a markdown file


Introduction
Hello everyone wondering how to write a markdown file in vs code you are in the perfect place to understand it in a short and deep manner.
without any further ado, let's get started
What is readme.MD file?
A README file is an essential guide that gives other developers a detailed description of your GitHub project. you will wonder why should I write a readme file? what is the necessity of that?
A good README helps your project to stand out from other projects and should be as good as your project itself.
The quality of a README description differentiates a good project from a bad one.
What is Markdown?
Markdown is a lightweight markup language that you can use to add formatting elements to plaintext text documents. Markdown is now one of the world’s most popular markup languages.
No more info about what is and all.... let's understand it with examples

Learn How to Write readme.MD file (markdown file) with examples
I am using visual studio code IDE for writing markdown file. Below are the steps to create a markdown file in visual studio code.
Step-1: Open visual studio code and create a readme file in vs code with the name readme.md
Step-2:Open the preview for that file in vs code by pressing ctrl+shift+v. To see the result of what you are writing.
Step-3: Start writing in the file.
Headings
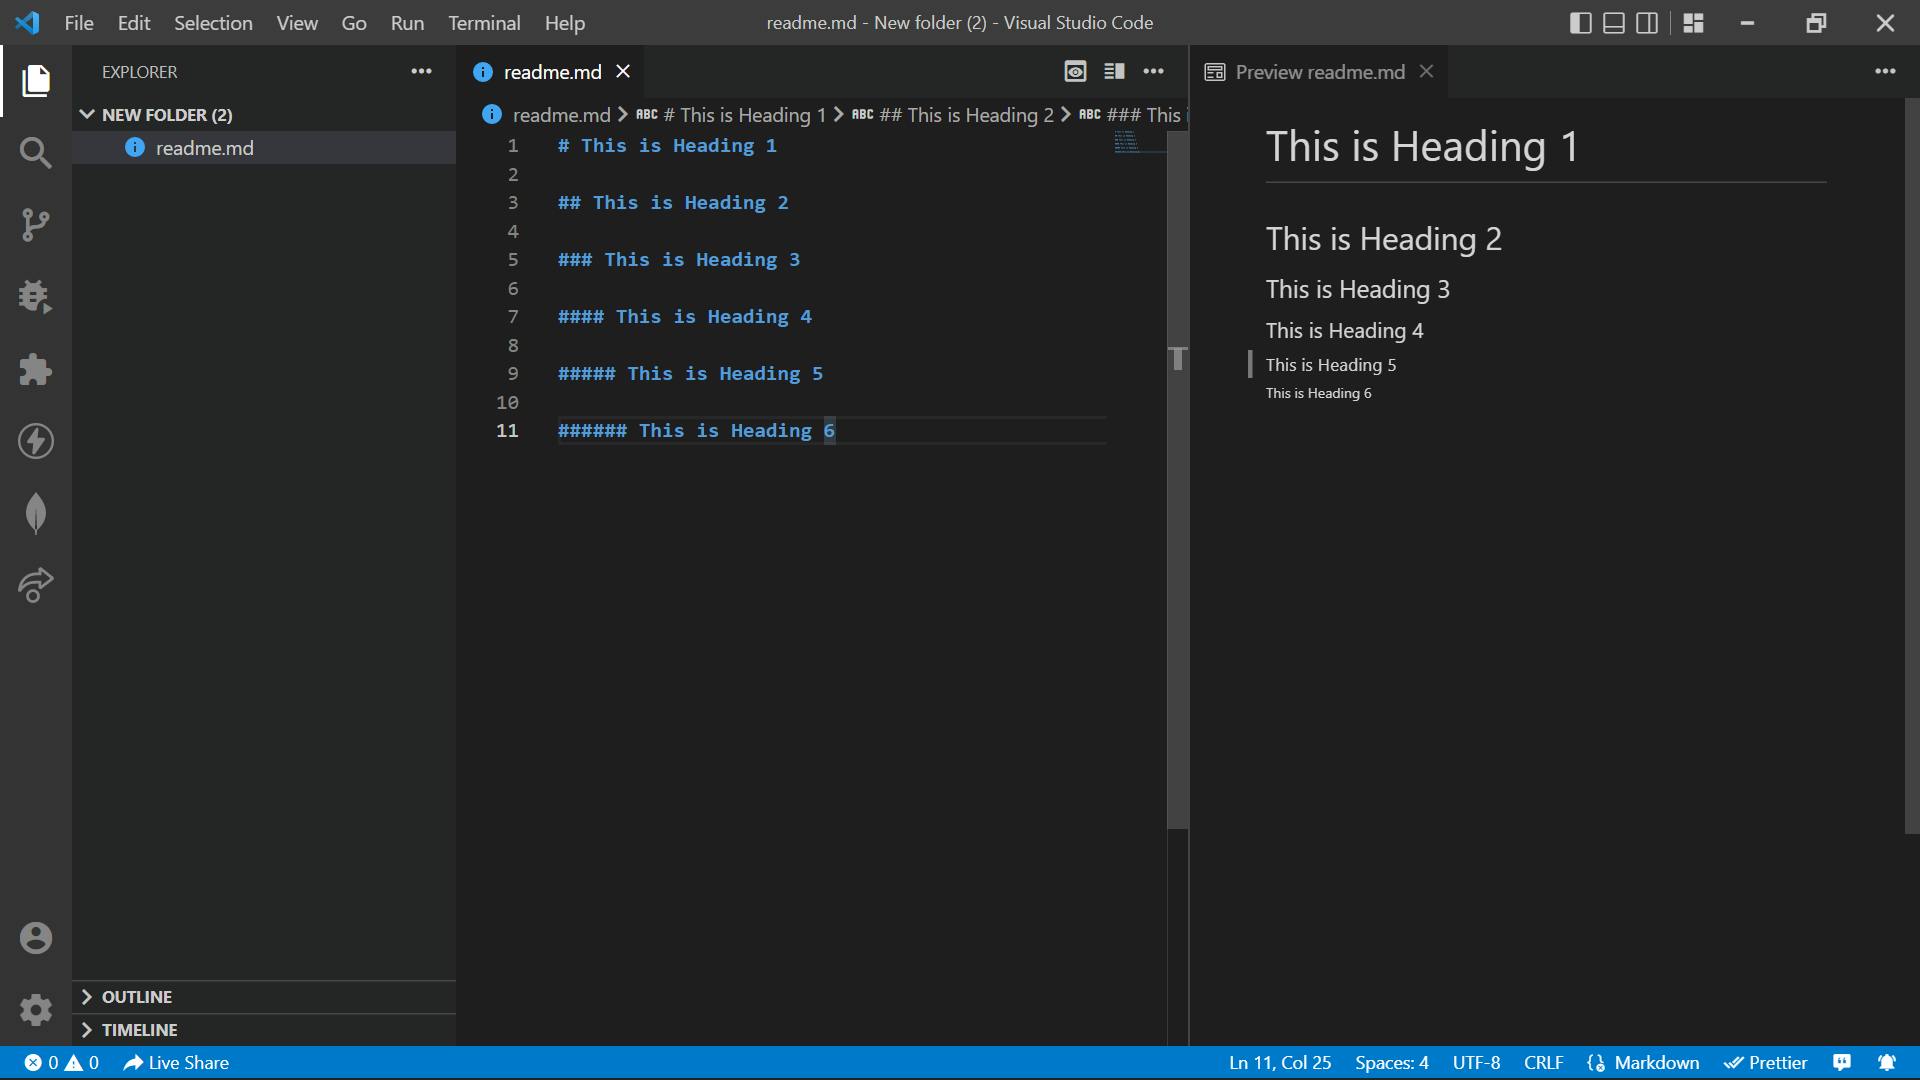
For writing headings, you have to add the hash # symbol at the beginning of the line.
whether you want h1,h2,h3 increase # symbol respectively.You can write up to headings six.
Don't forget to put space in between # and text you are going to write. Otherwise, it is not going to work.
Hyperlinks
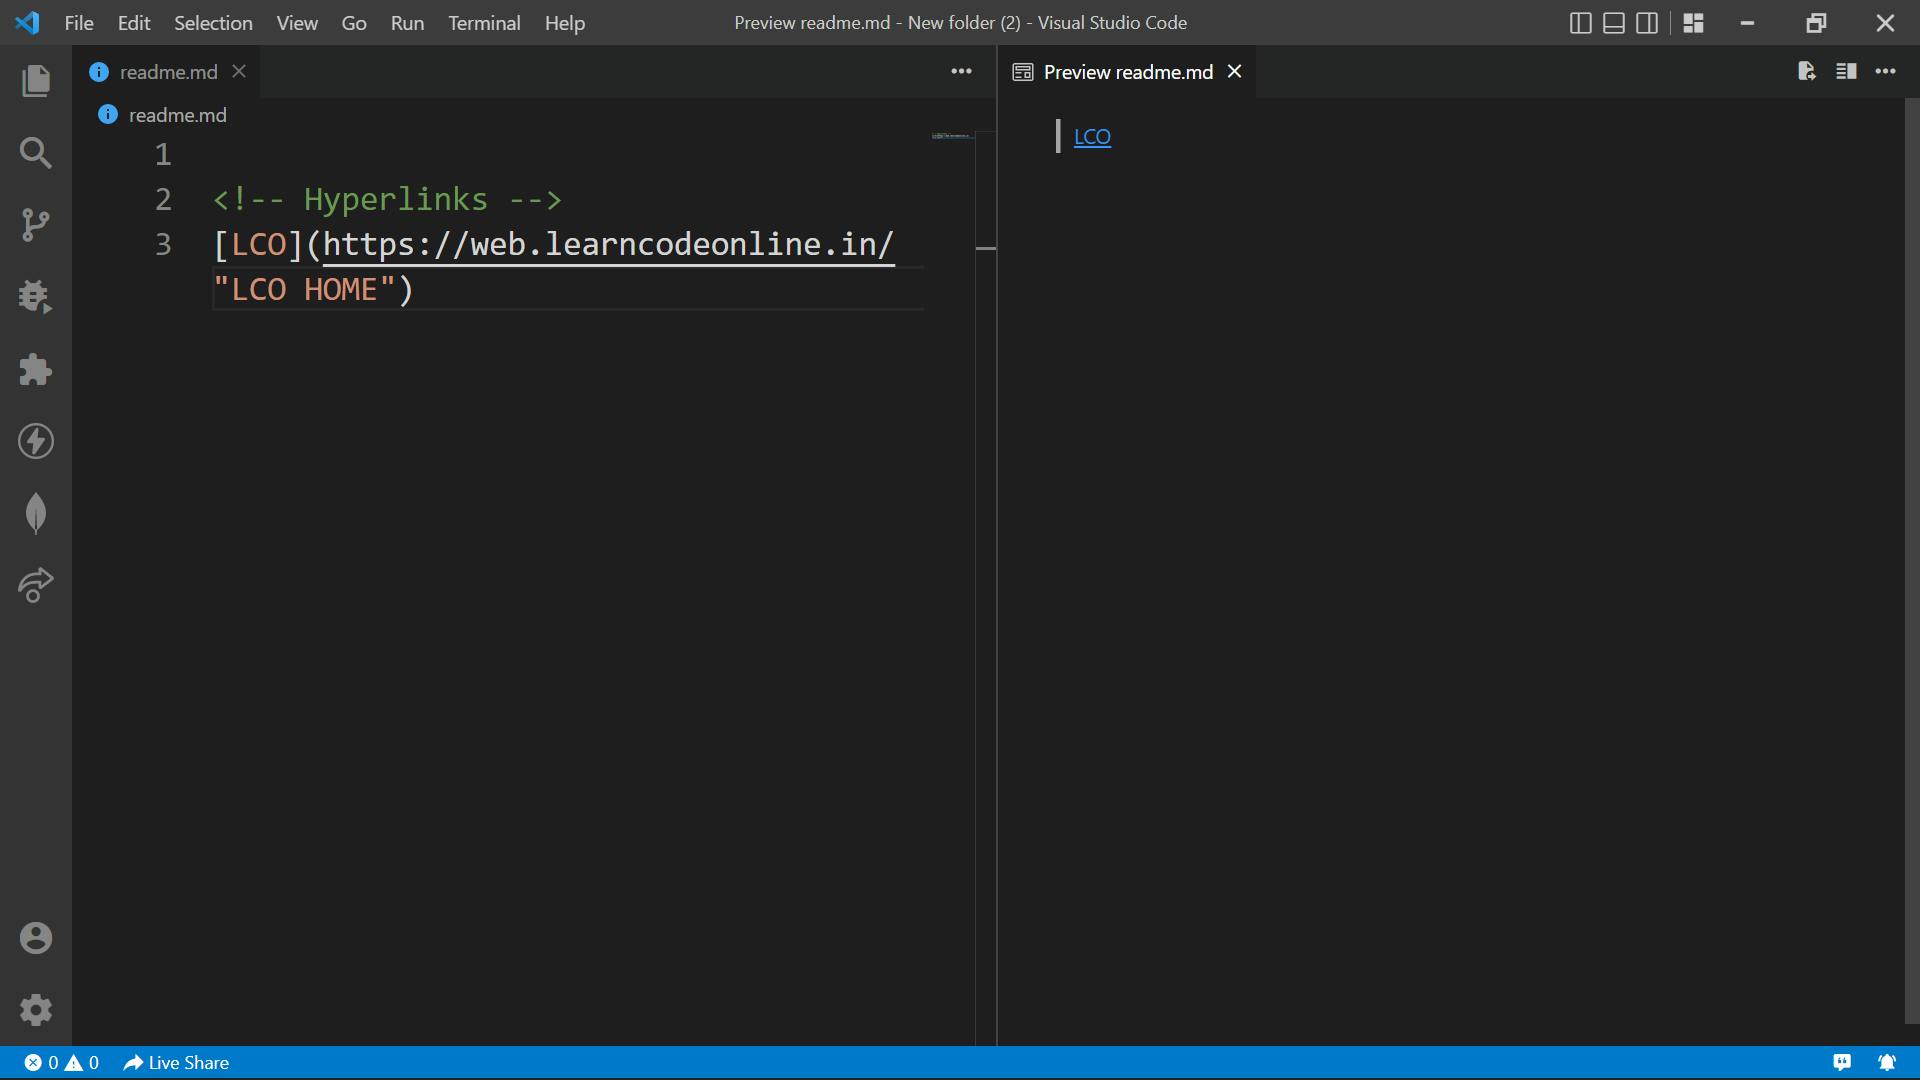
You can add a hyperlink in a markdown file by using the below tag.
[link name](targetURL)
ex:[LCO](https://web.learncodeonline.in/)
You can also write the link title (While hovering over the link the title will appear)
[link name](targetURL ''name of title")
ex:[LCO](https://web.learncodeonline.in/ "LCO HOME")
Add space in between URL and title.
italic text
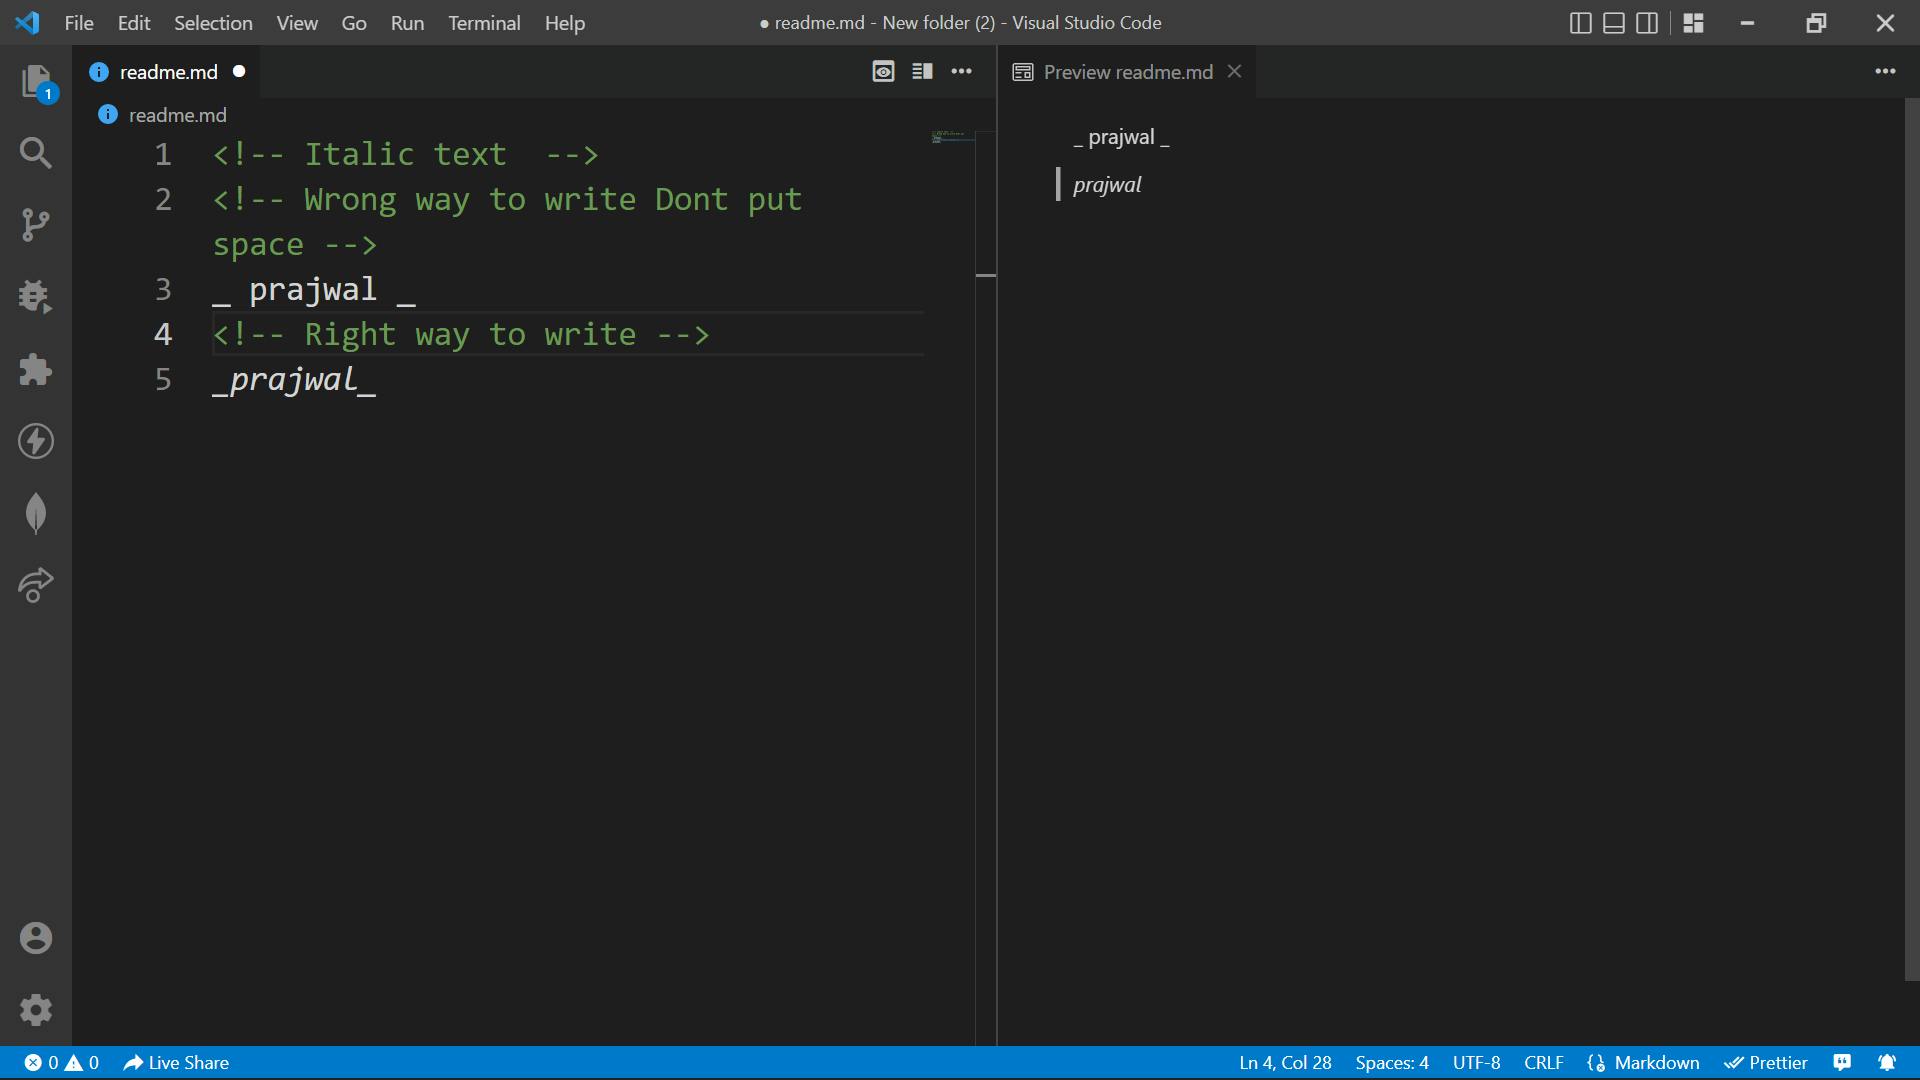
you can write italic text by appending underscores _ before and ending of the line, for italic text
make sure you don't live space in between underscore and text
Bold text
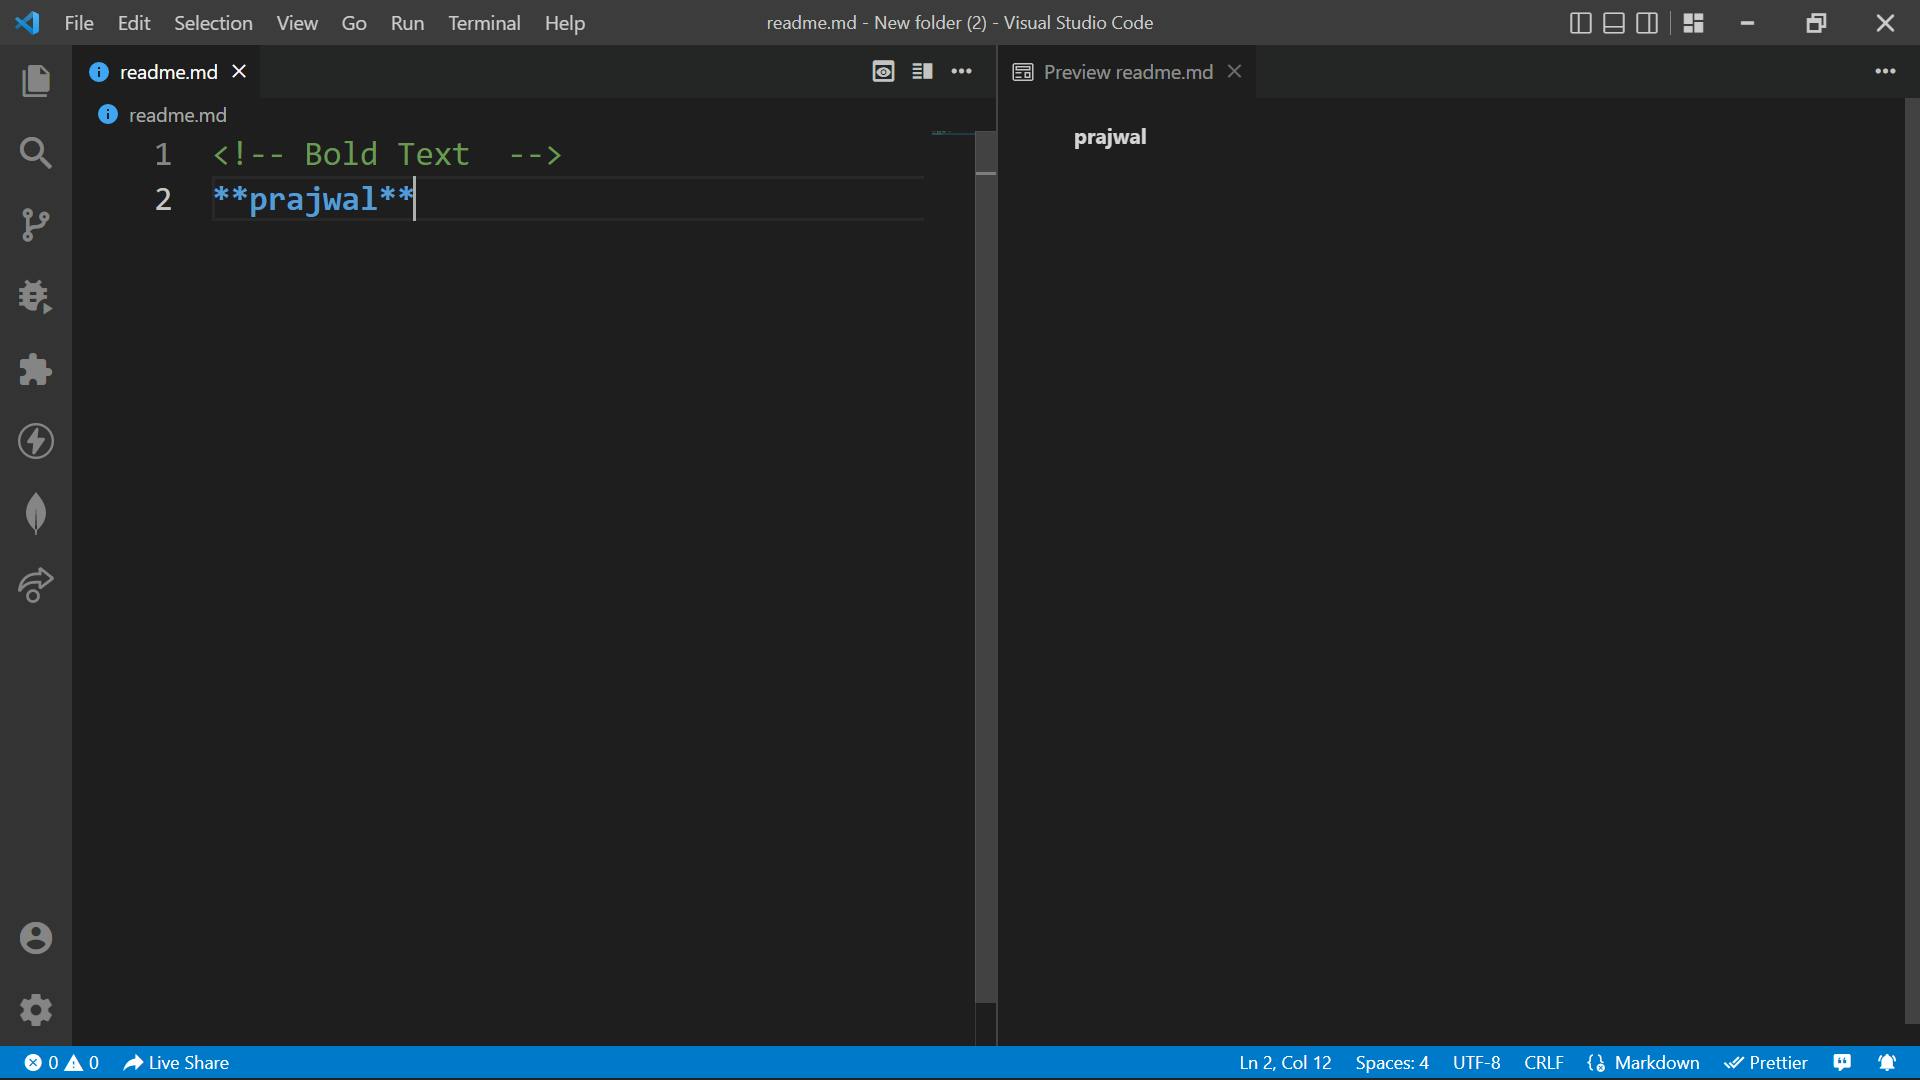
Add double star ** before and ending of the line for strong/bold text.
make sure you don't live space in between underscore and text
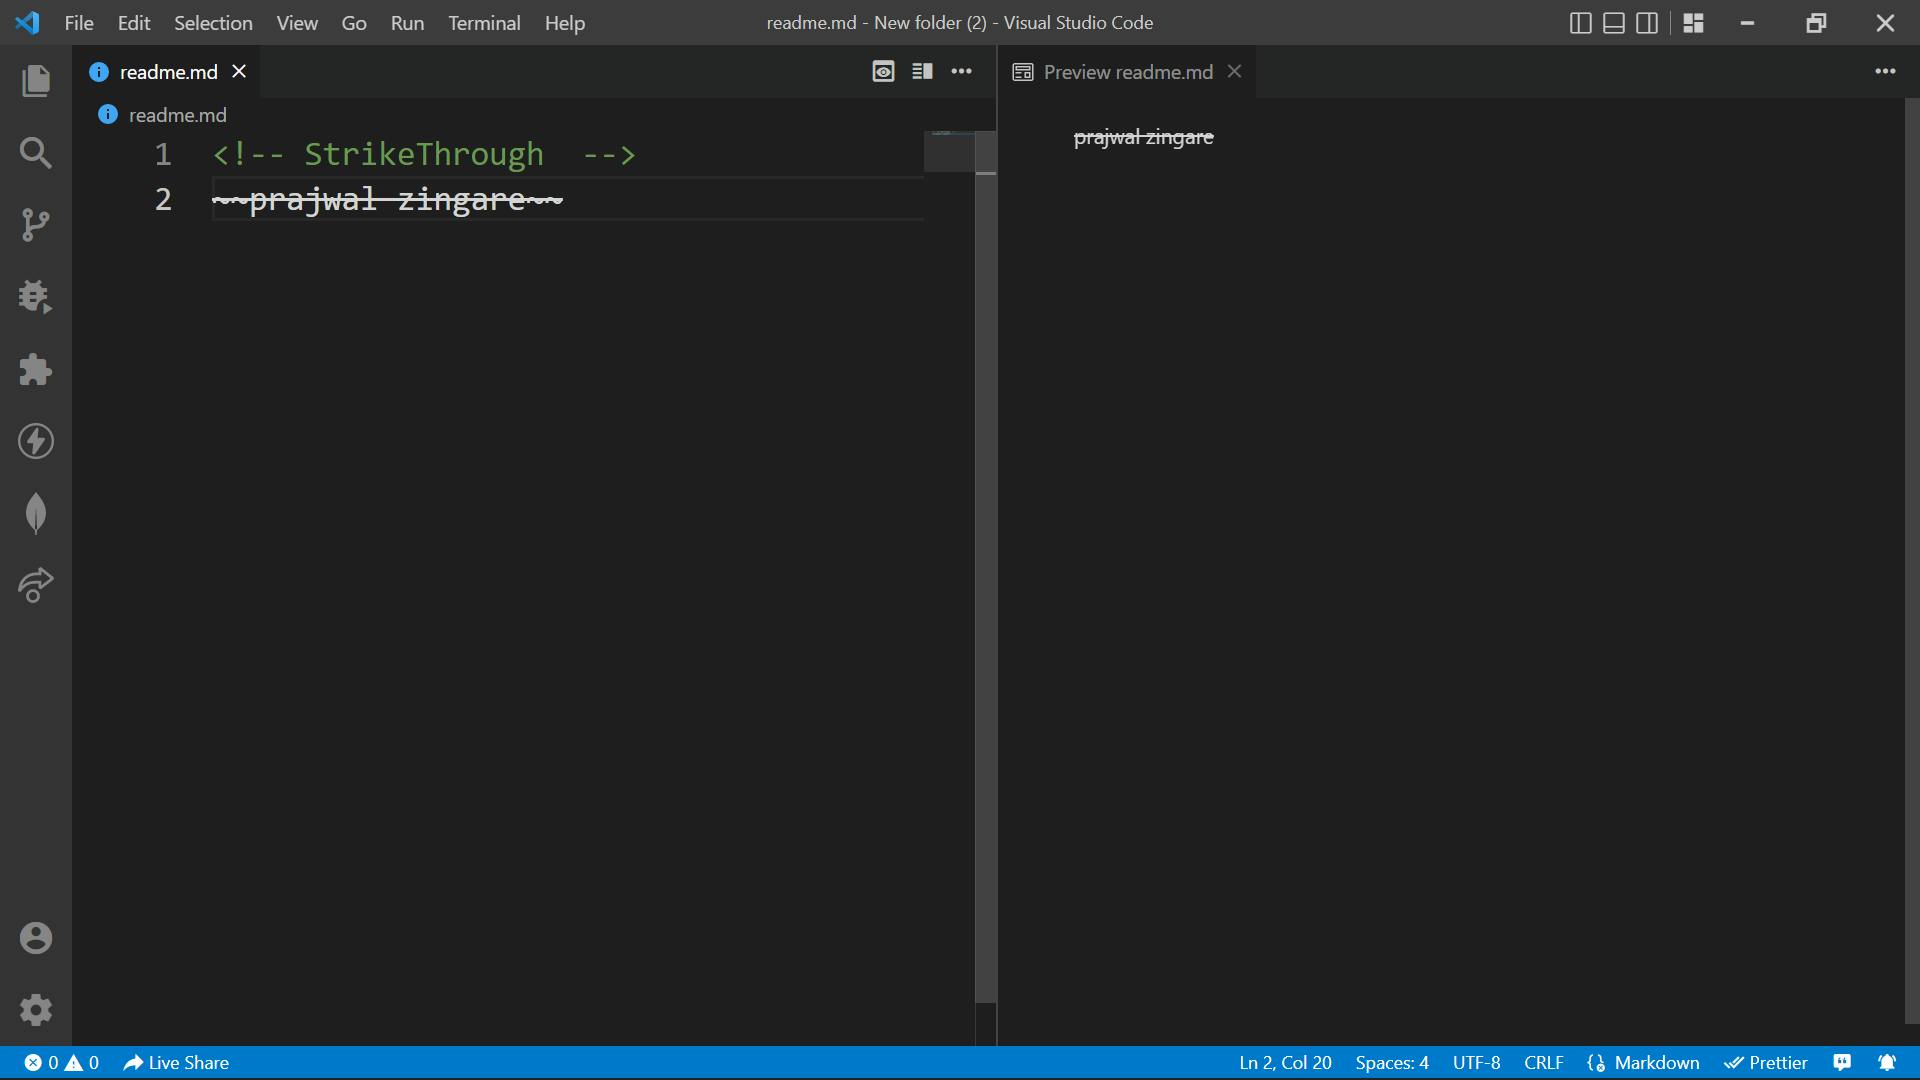
StrikeThrough
If you want to strike through a word or line then add two tilde ~~ symbol at the beginning and end of the line.
~~Strikethrough text~~
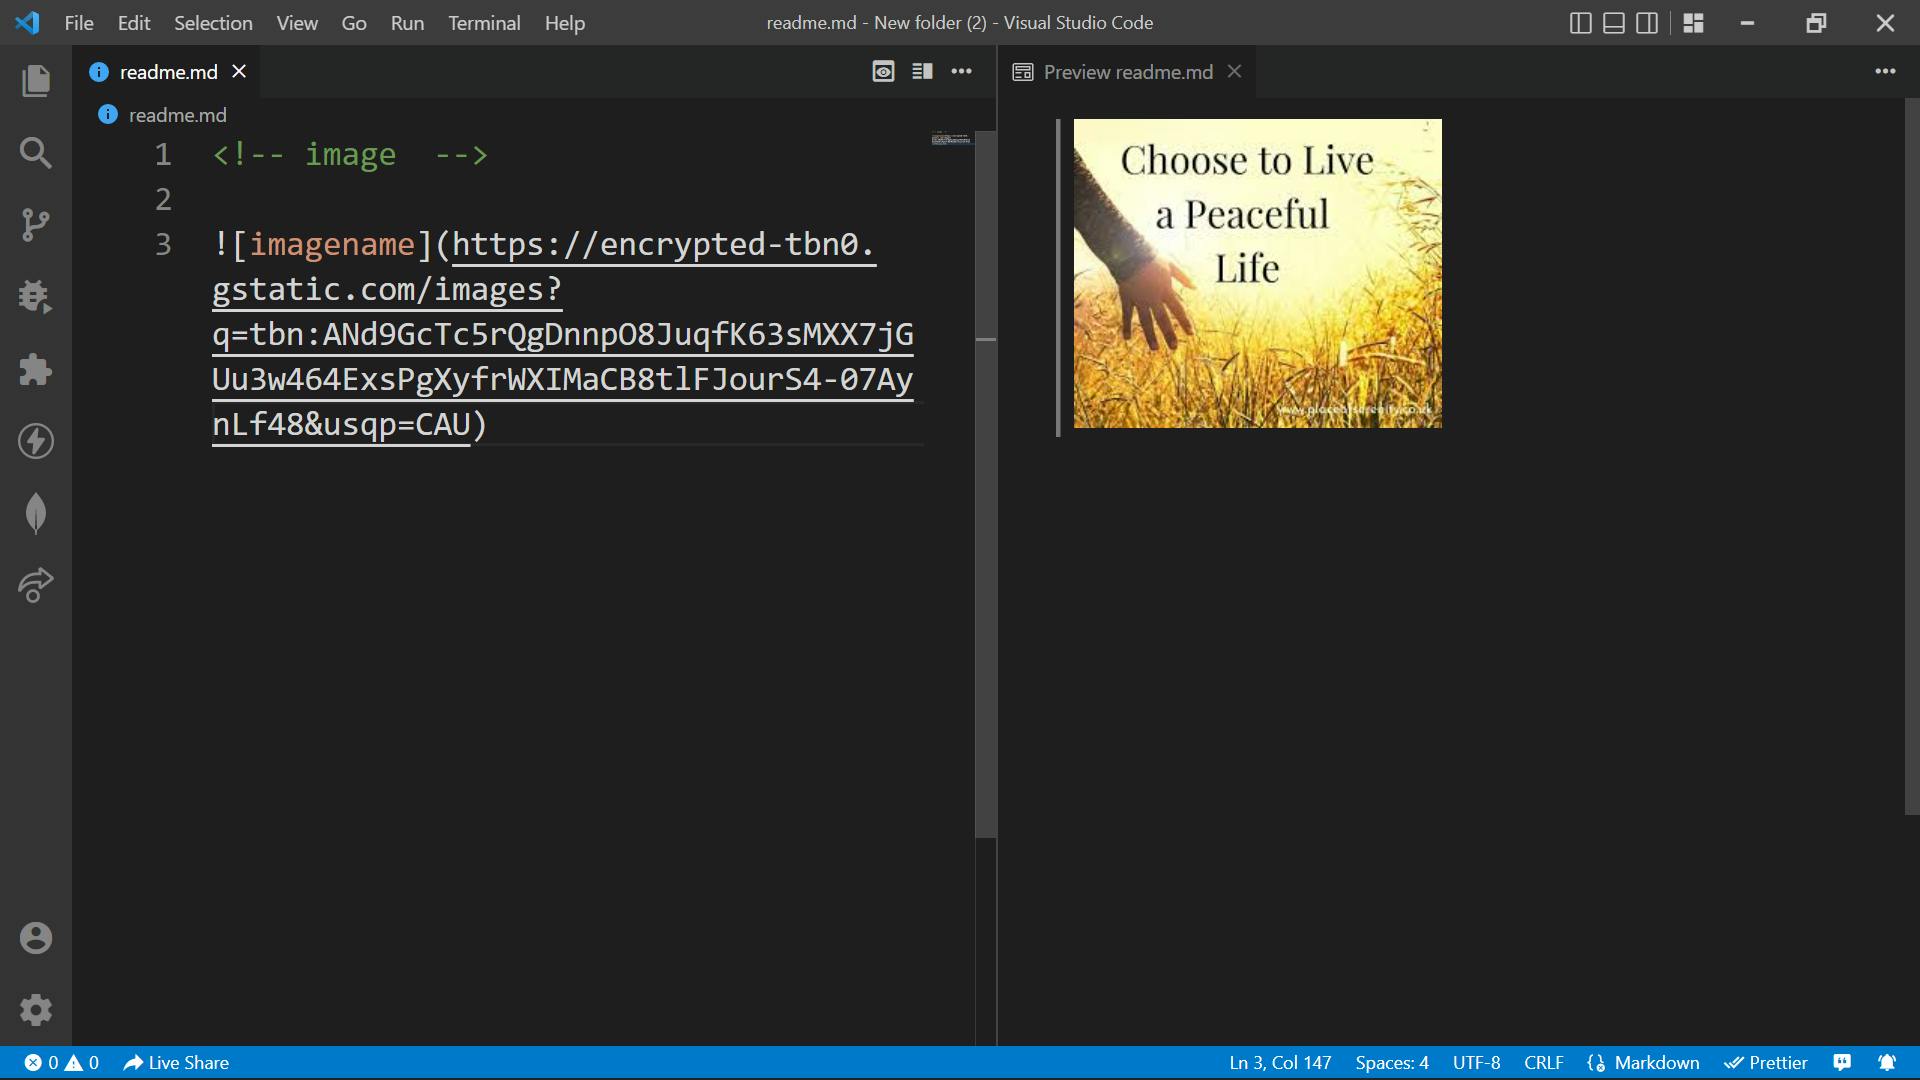
Images
You can add images in a markdown file by using the below tag.

Quotes
If you want to write quotes just add a > symbol at the beginning of the line.
>Your quote looks like this.

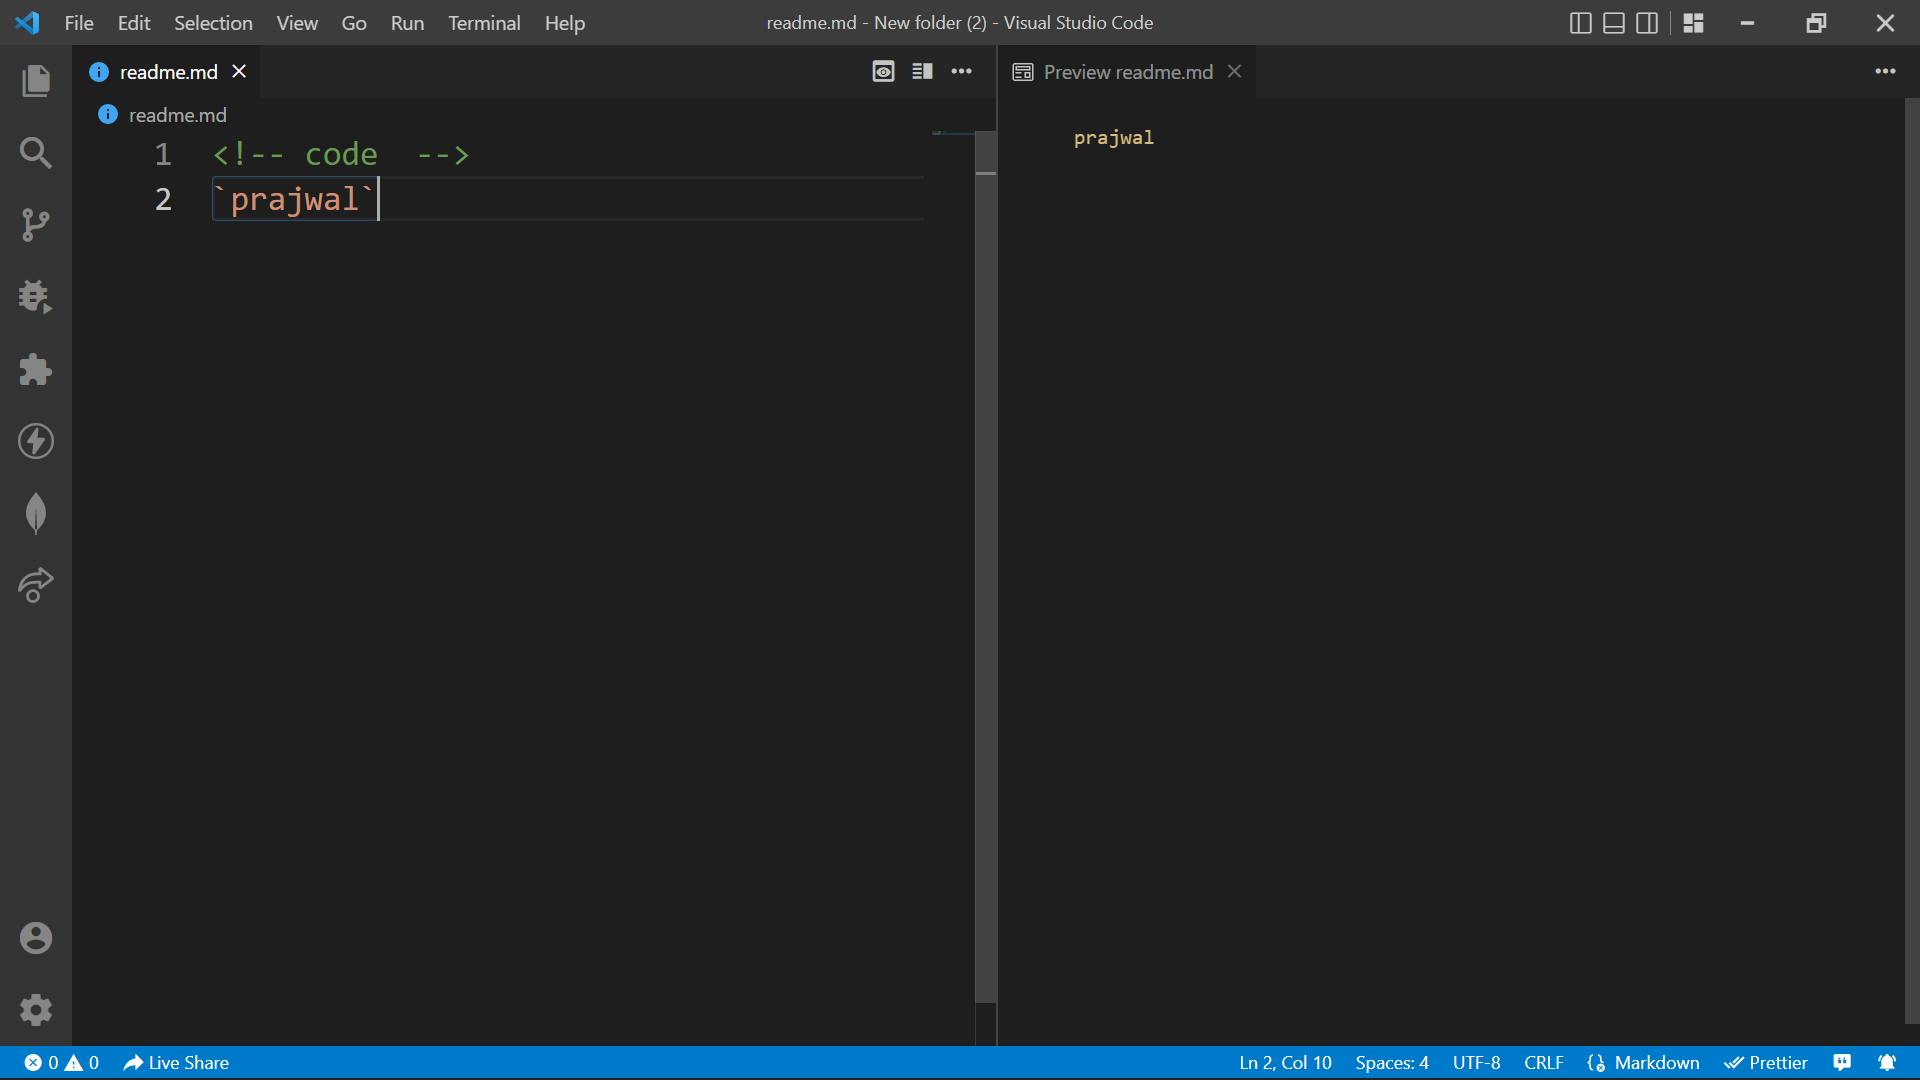
Code
You can write code by appending ` backticks symbol at the beginning and end of the line.
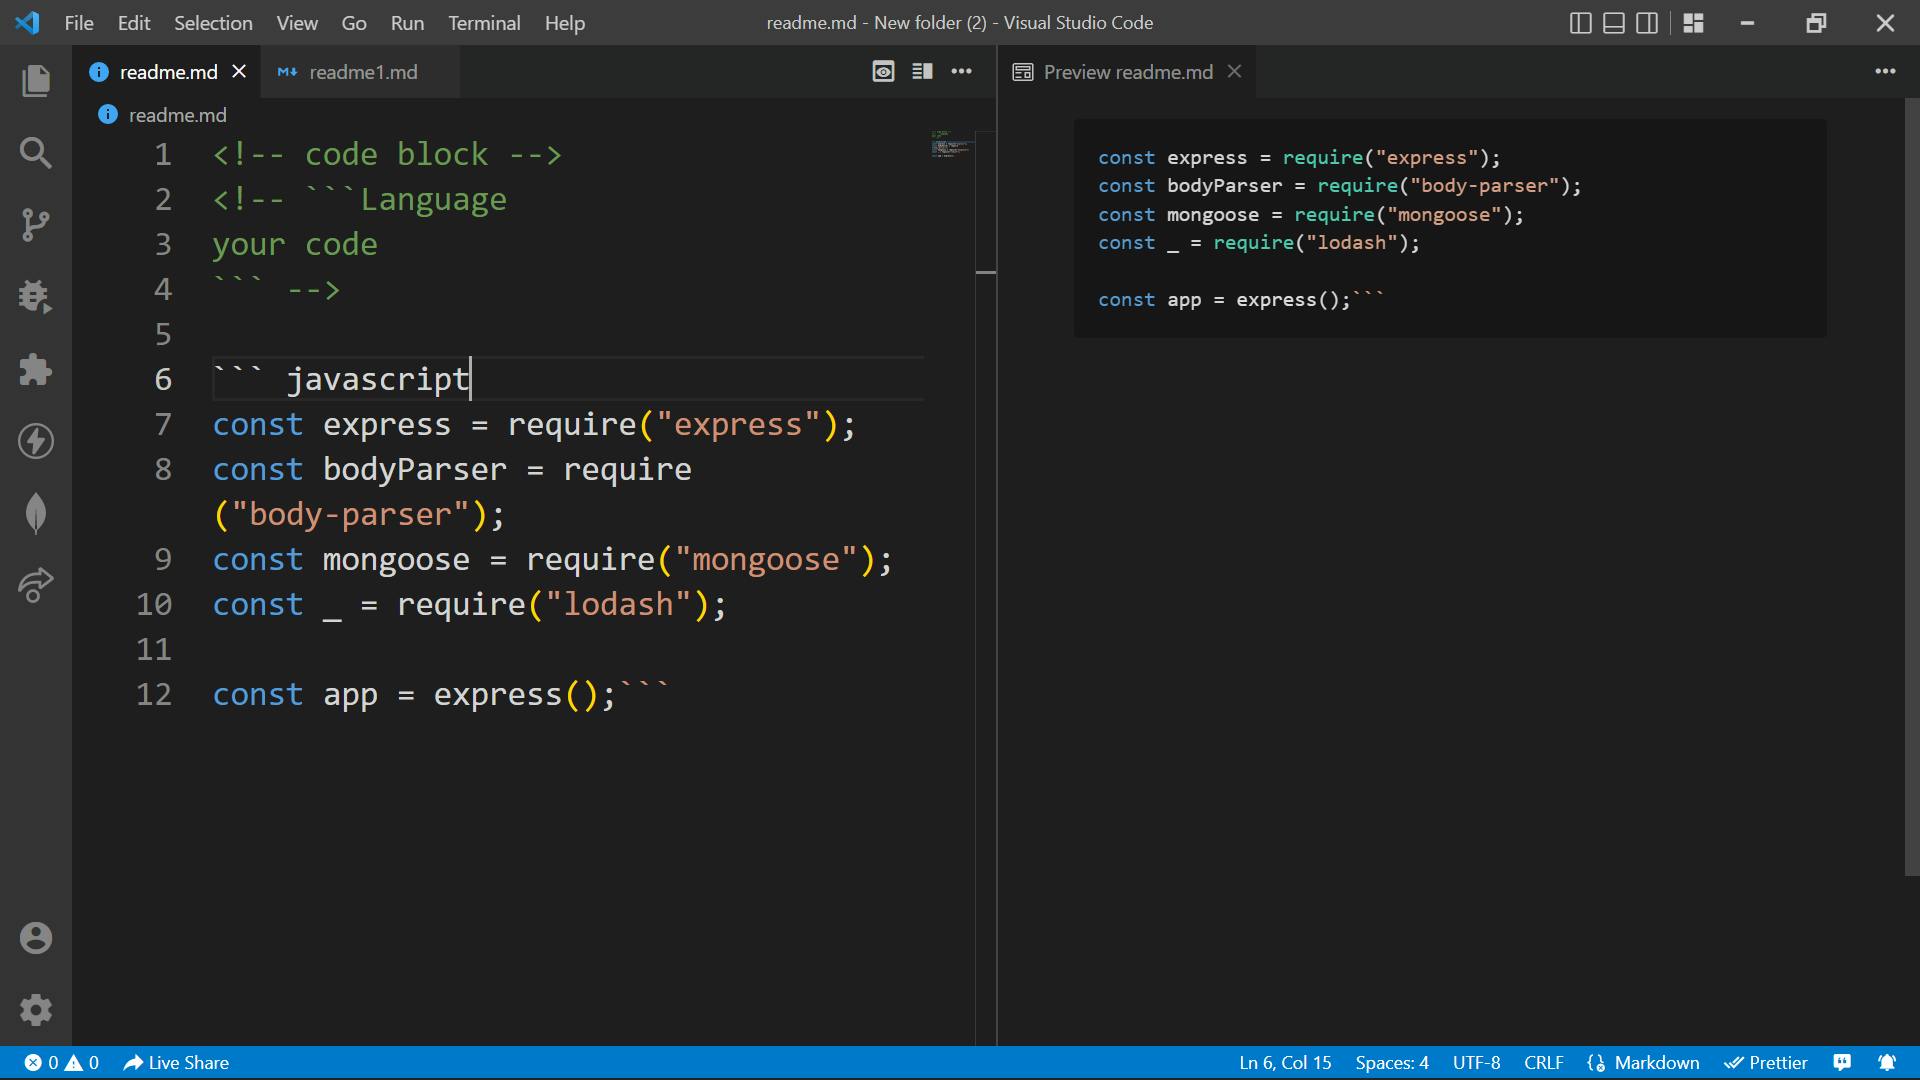
Code block
If you want to write a block of code then add ``` at starting and ending of the code.
You can specify your language after the ``` at starting of the line.
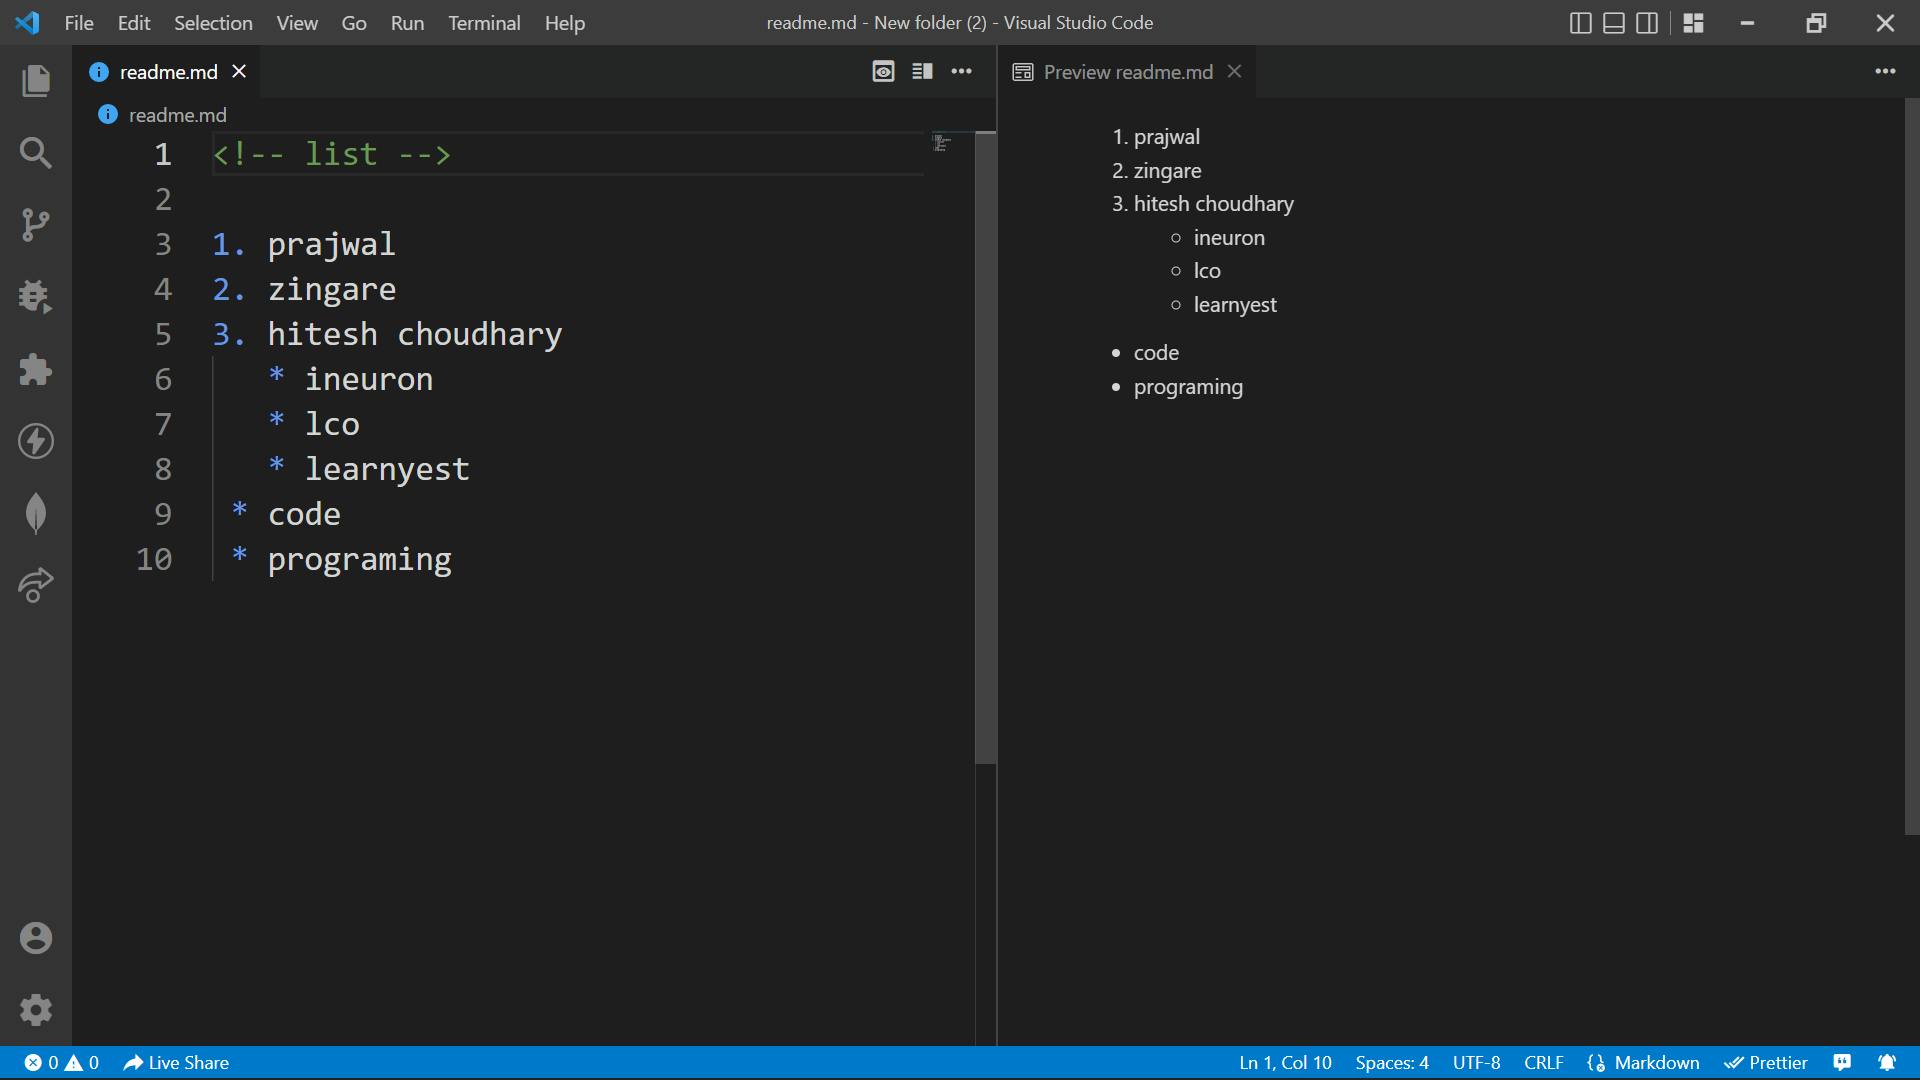
List
You can write an ordered list, unordered list, and mixed list. By typing1. and space than text ex:1. prajwal and for sublist add *. and space you will get the idea after watching the image.
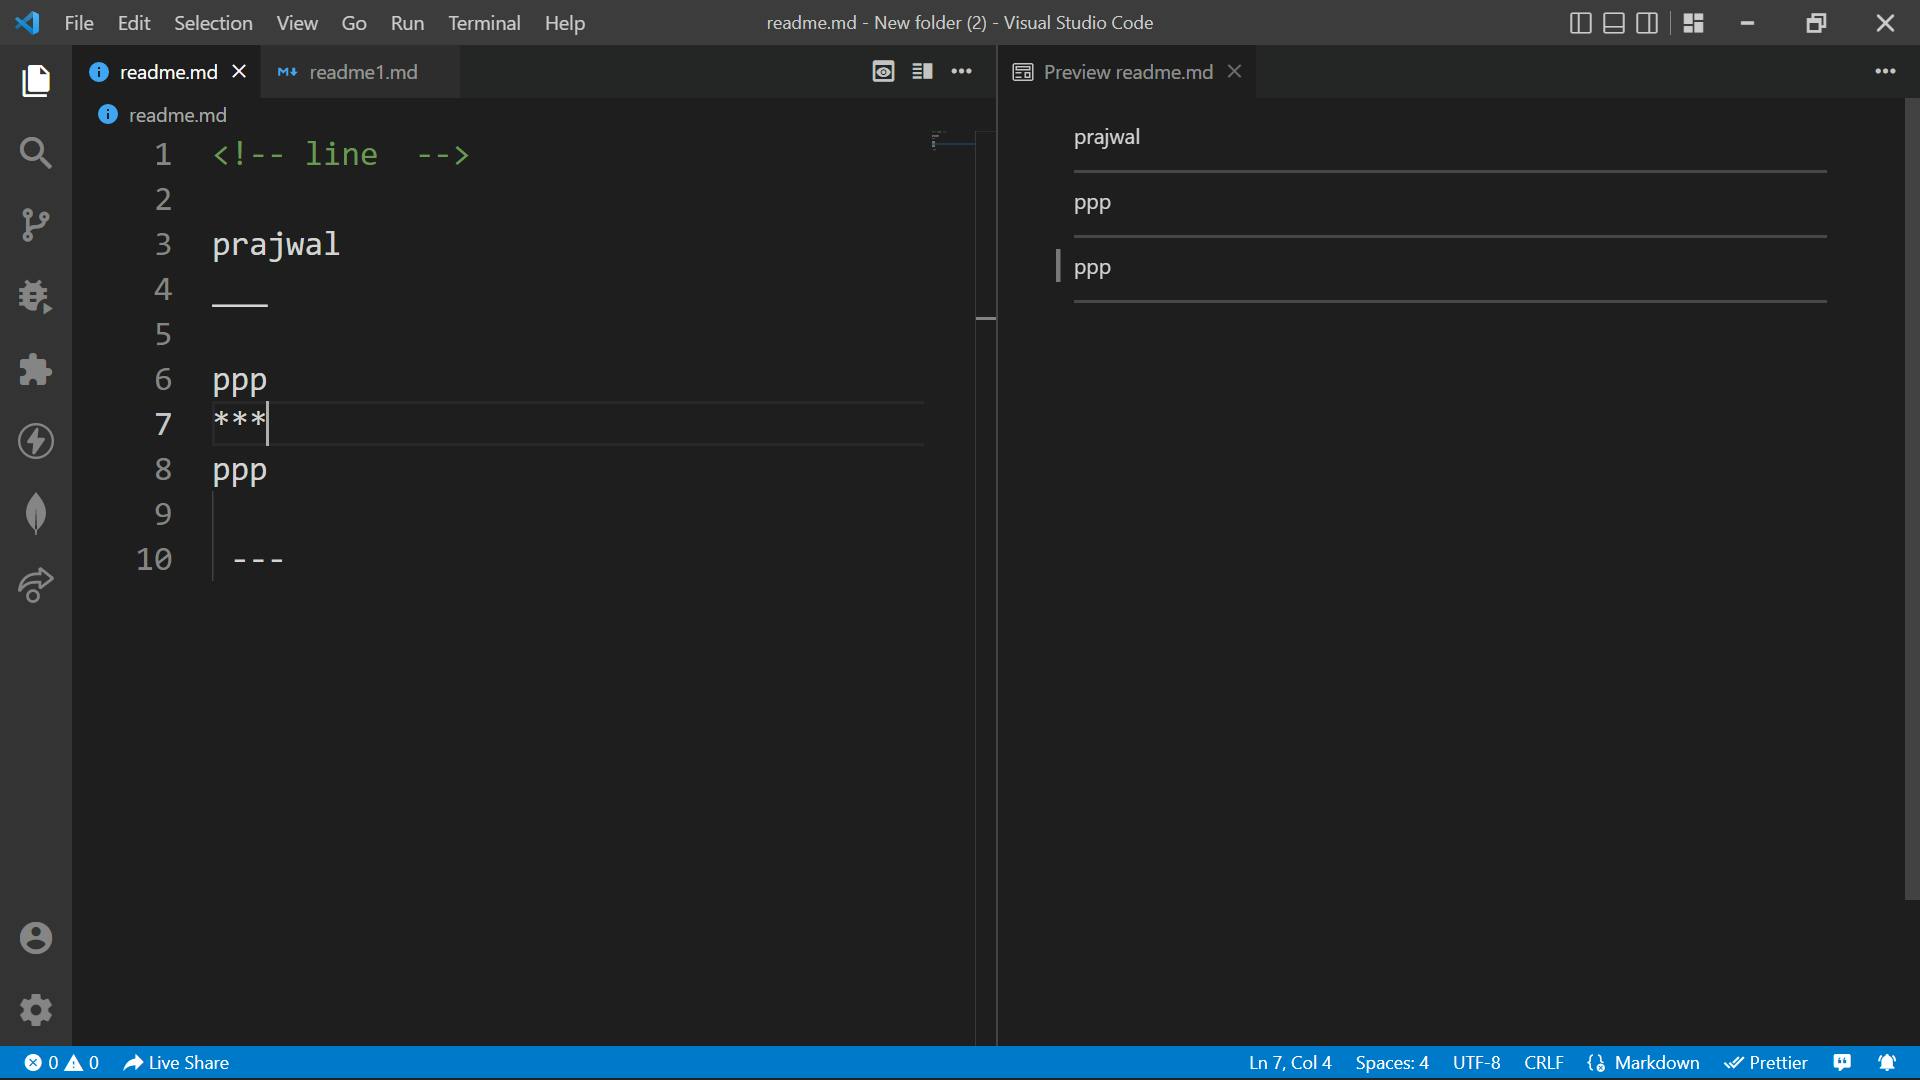
Horizontal line
If you want to add a horizontal line in the markdown file then simply add --- or *** or 3 underscore ___
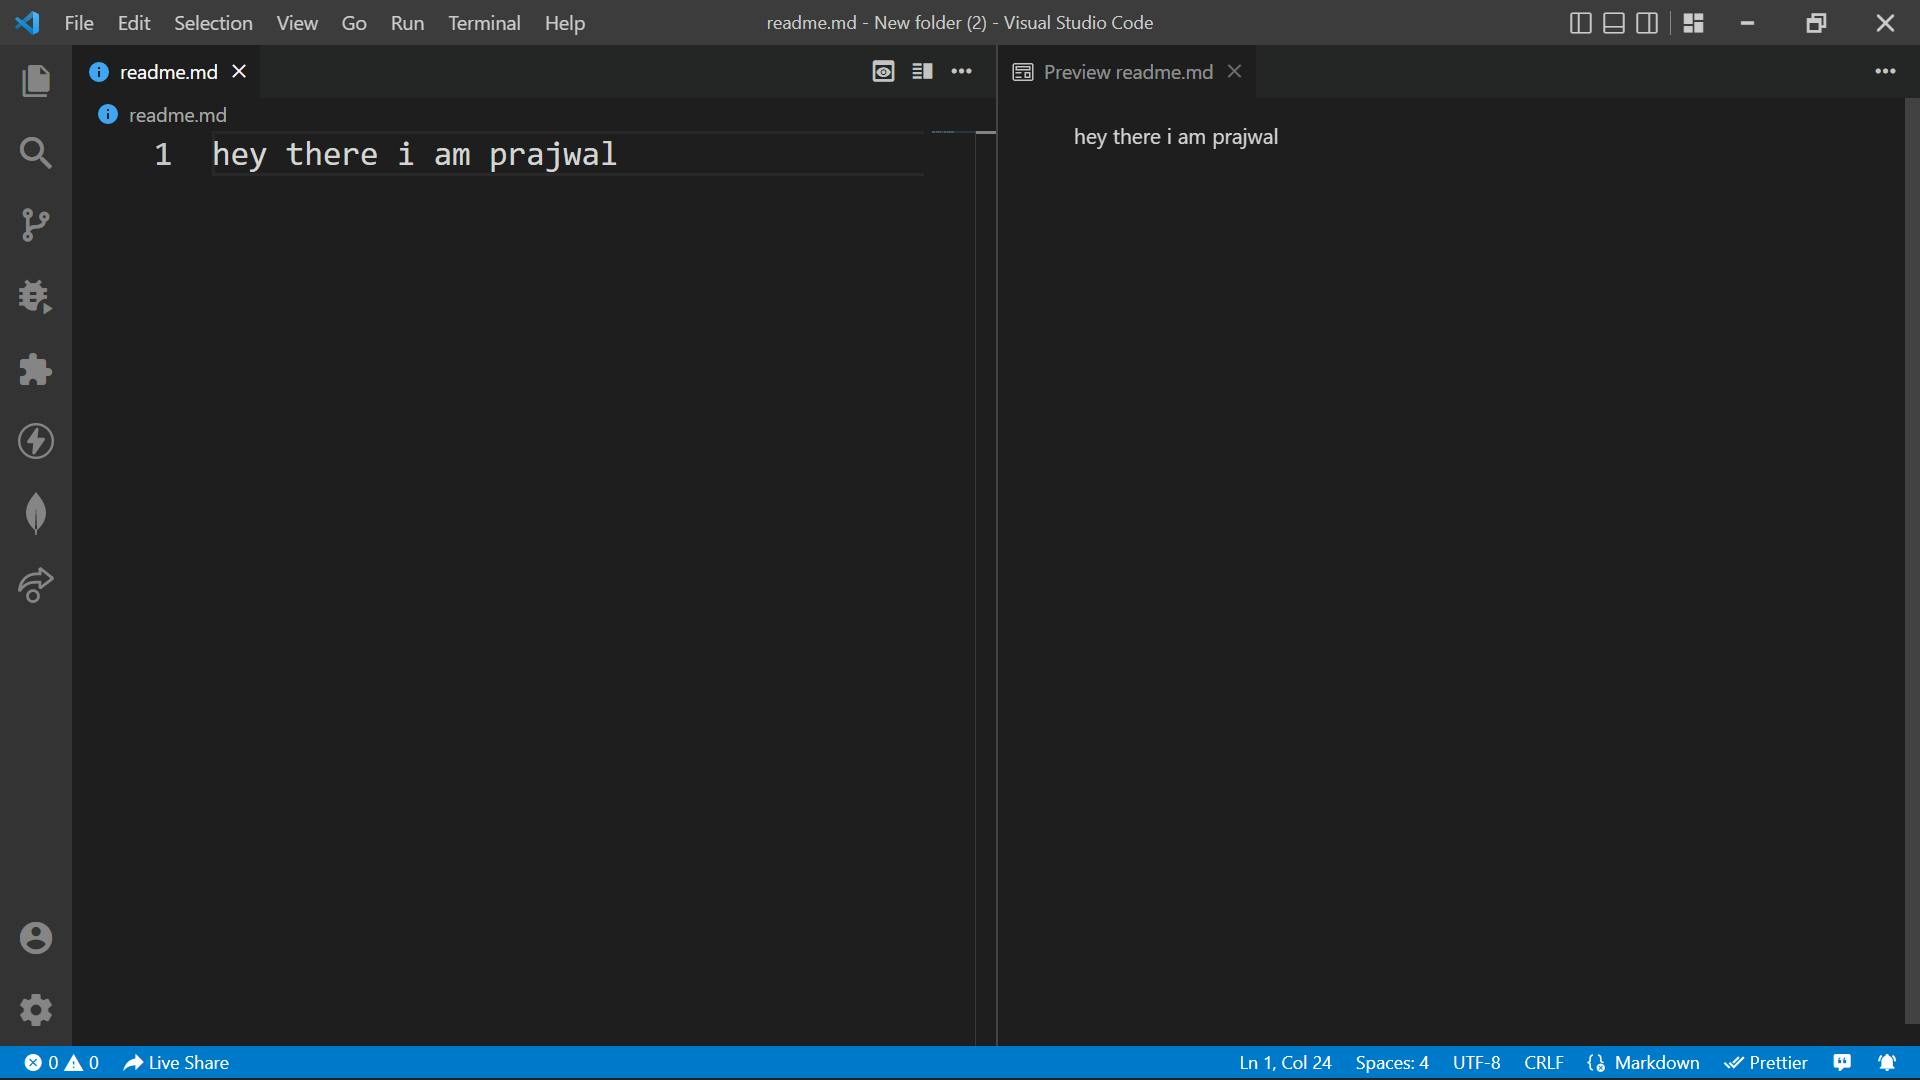
simple text
If you want to write normal text then write simple text here, no need to add any tags.
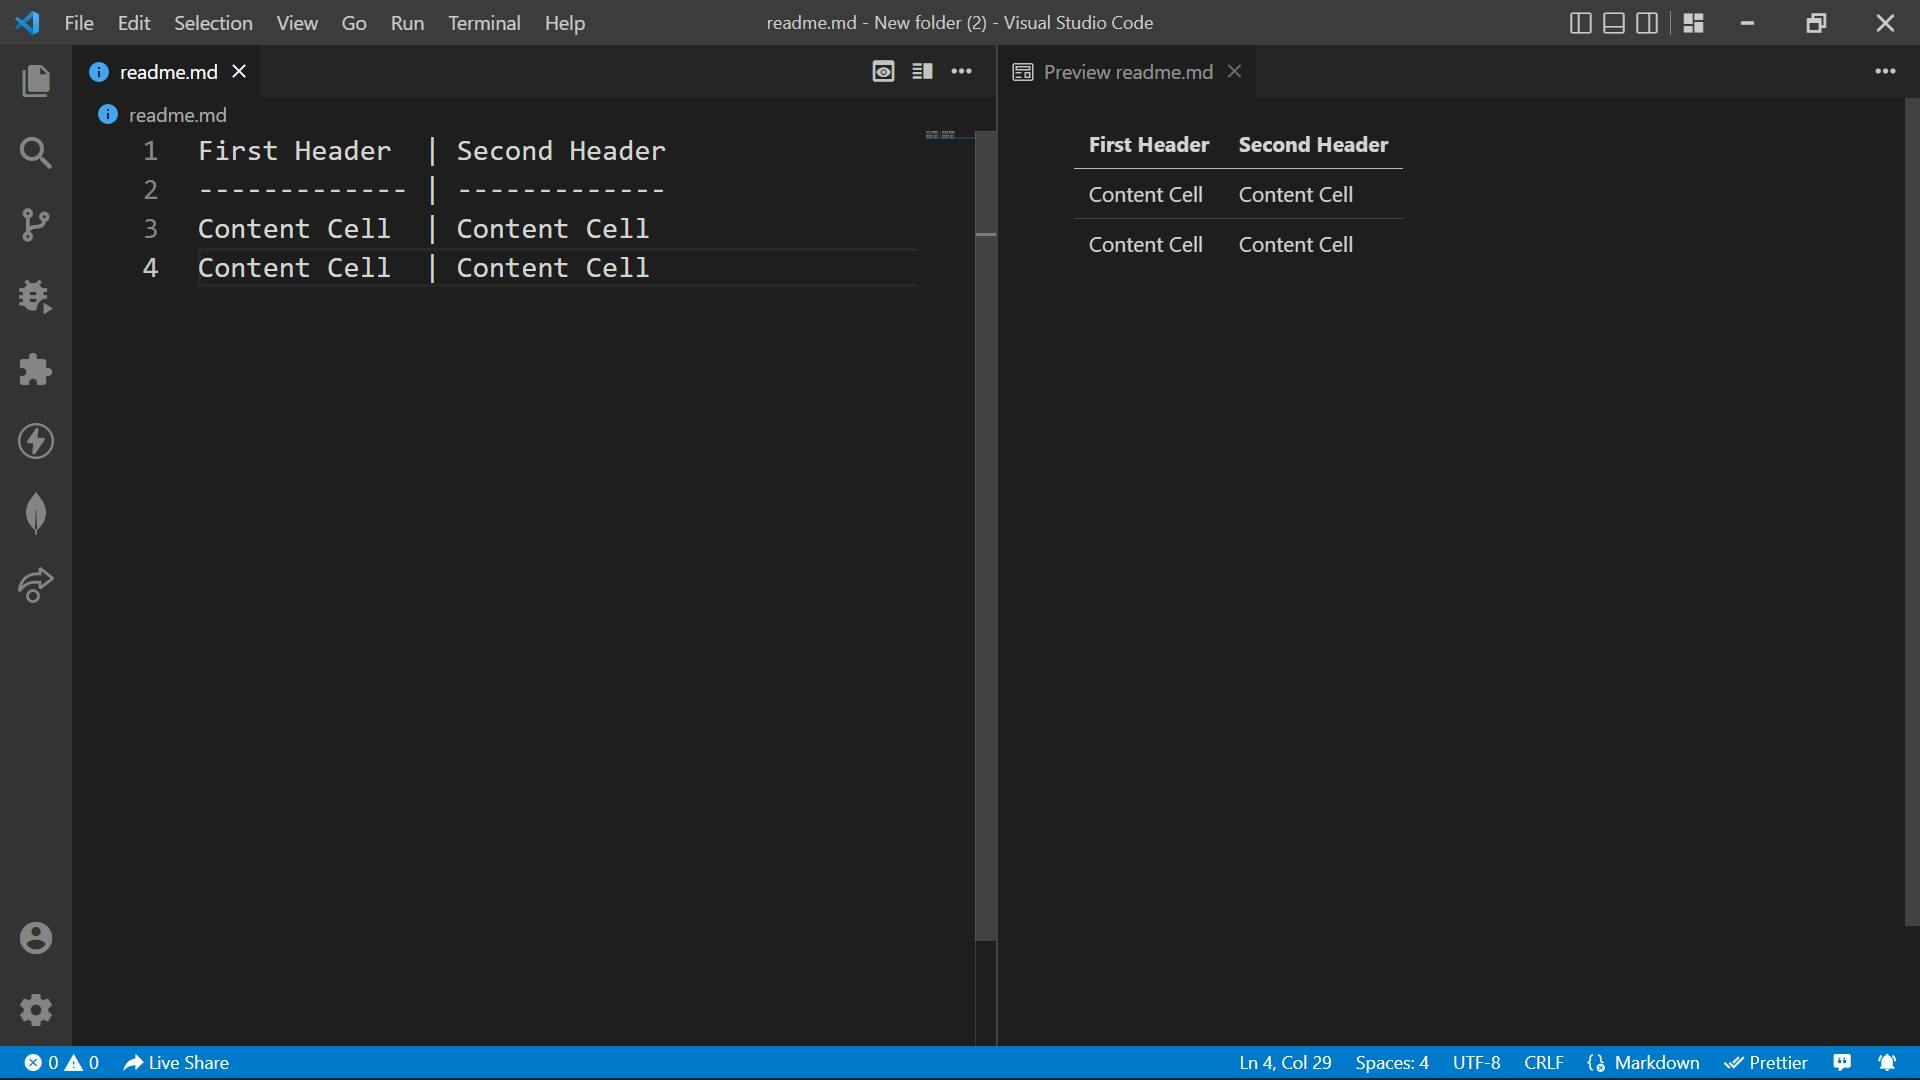
Tables
You can write tables by adding | vertical slash.
an example is in the image.
Conclusion
A quick recap of the article. We understand how to write markdown files with examples in vs code. I hope that this article is useful to you, to help understand the topic better. If you have any questions, you can leave them in the comments section below.
Happy Coding.
ByBy